


Ever felt overwhelmed by the thought of database changes as your app evolves? Fear not! Migrations are here to rescue you from the complexity, turning daunting into the doable. Think of them as your app's organizational magic – like tidying up your app's room as it grows.
In this enchanting guide, we'll unveil the secrets of creating and managing migrations in your NestJS application, and we're bringing along PostgreSQL as your trusty database sidekick. With our step-by-step journey, you'll effortlessly navigate the realm of migrations, ensuring your database evolves gracefully alongside your app's progress.
Migrations might appear intricate at first glance, but with the power of NestJS, your loyal app framework, and the reliability of PostgreSQL, a fortress of a database system, you'll embark on a breeze-like journey of transforming complexities into simplicity.
Let's dive into this captivating adventure and unveil the art of migrations while enjoying the ride. Your app's organizational wizard awaits – are you ready to wield its magic? 🪄🌟
Before We Begin: What You Need
Before diving in, make sure you've got Node.js and npm ready to roll on your computer. Oh, and if you're new to PostgreSQL, don't worry – it's a friendly database that we'll use to store your app's data.
Step 1: Setting Up Your NestJS App
Let's get started:
Open your terminal.
If you haven't already, install NestJS globally:
npm install -g @nestjs/cliCreate your NestJS app:
nest new my-nest-app
Step 2: Connecting to Your Database
Install packages related to databases:
npm install @nestjs/typeorm typeorm pgOpen up
app.module.tsand set up your database connection:import { Module } from '@nestjs/common'; import { AppController } from './app.controller'; import { AppService } from './app.service'; import { TypeOrmModule } from '@nestjs/typeorm'; @Module({ imports: [ TypeOrmModule.forRoot({ type: 'postgres', host: 'localhost', port: 5432, password: 'postgres', username: 'postgres', entities: [], database: 'migration-tutorial', autoLoadEntities: true, }), ], controllers: [AppController], providers: [AppService], }) export class AppModule {}
Step 3: Setting Up the Data Source
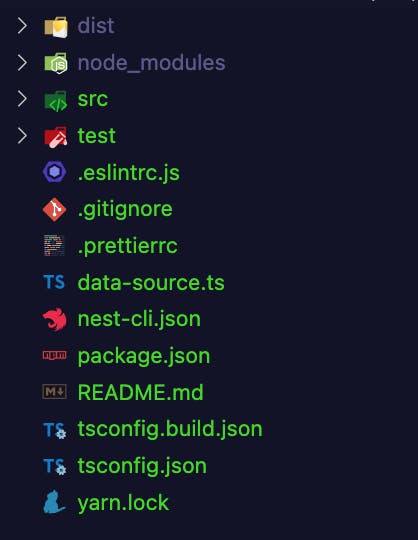
Create a data-source.ts file in the root of your project:
Then configure the data-source:
import { DataSource } from 'typeorm';

export default new DataSource({
  type: 'postgres',
  host: 'localhost',
  port: 5432,
  password: 'postgres',
  username: 'postgres',
  database: 'migration-tutorial',
  migrations: ['src/migrations/**/*.ts'],
});
Step 4: Managing Migrations
4.1. Creating Migration Scripts
Open your
package.jsonfile and add the migration scripts:"scripts": { "migrate": "typeorm-ts-node-esm -d data-source.ts migration:run", "migrate:revert": "typeorm-ts-node-esm -d data-source.ts migration:revert", "migrate:test": "typeorm-ts-node-esm -d data-source_test.ts migration:run", "migrate:test:revert": "typeorm-ts-node-esm -d data-source_test.ts migration:revert", "new:migration": "cd src/migrations && typeorm-ts-node-esm migration:create" }
4.2. Writing Migration Logic
- Create a folder named
migrationsinside thesrcdirectory.

Run the following command to generate a new migration script:
npm run new:migrationOpen the generated migration file in the
src/migrationsdirectory and modify the generated migration file// before modification import { MigrationInterface, QueryRunner } from "typeorm" export class User1692166487661 implements MigrationInterface { public async up(queryRunner: QueryRunner): Promise<void> { } public async down(queryRunner: QueryRunner): Promise<void> { } } // after modification import { MigrationInterface, QueryRunner, Table } from 'typeorm'; export class User1692111030774 implements MigrationInterface { public async up(queryRunner: QueryRunner): Promise<void> { await queryRunner.createTable( new Table({ name: 'user', columns: [ { name: 'id', isGenerated: true, type: 'int', isPrimary: true, }, { name: 'full_name', type: 'varchar', isNullable: true, default: null, }, ], }), true, ); } public async down(queryRunner: QueryRunner): Promise<void> { await queryRunner.dropTable('user'); } }
4.3. Running Migration
Run migrations to apply changes to the database:
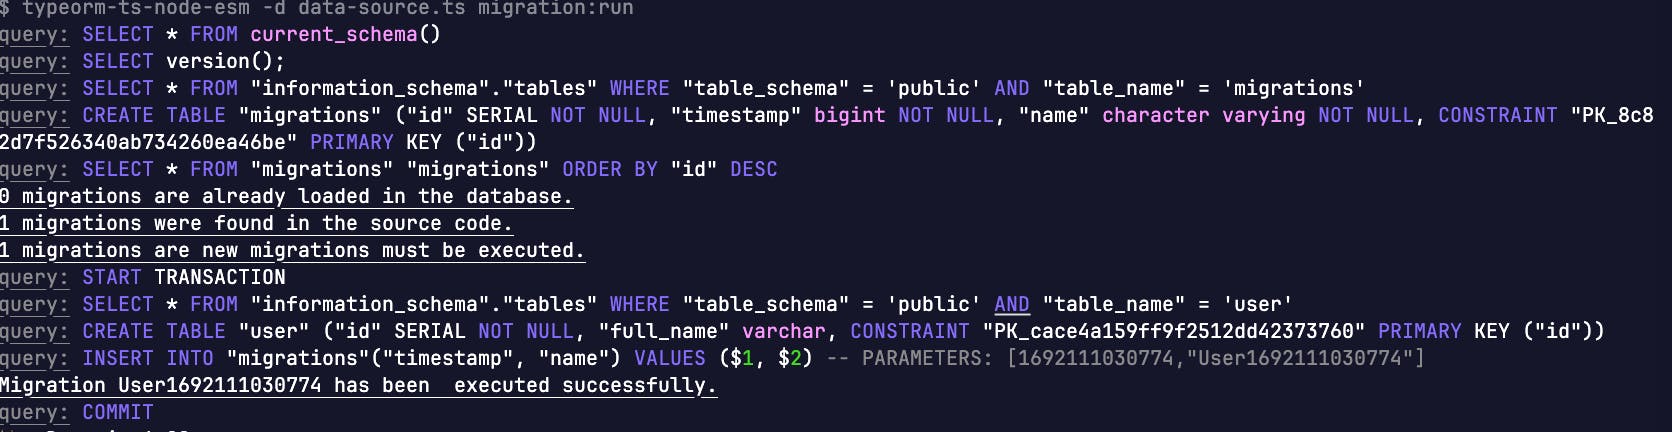
npm run migrate
You should get the following output in your terminal
4.3. Reverting Migration
If needed, you can revert a migration:
npm run migrate:revert
Wrapping Up: Your Database, Organized
You're now a migration maestro! These simple steps ensure your database stays neat and orderly as your app evolves. With NestJS and PostgreSQL as your companions, you're fully equipped to create and manage migrations like a pro. Happy coding and building your incredible app! 🚀